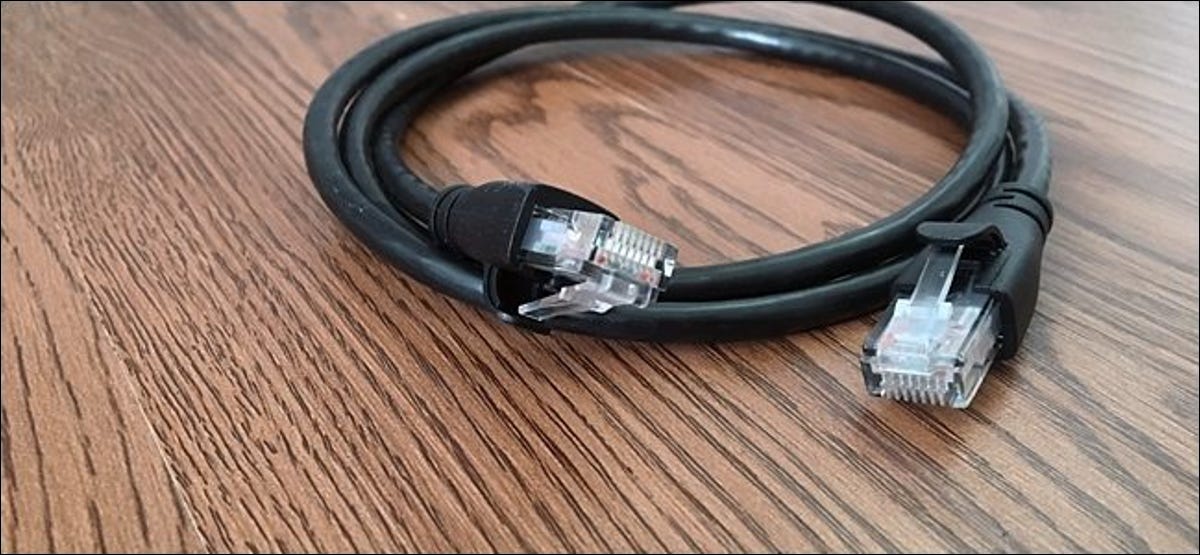
Have you ever needed?a short Ethernet cable, but all the ones in your closet are six feet long? You could just wrap up the excess, but for a cleaner look, you can shorten the cable yourself. With the right materials, you can even make your own custom-length network cables.
By crimping your own Ethernet cables,?you can make them in any length you want. Pre-made Ethernet cables only come in specific lengths, and you may need a size that isn’t available. Again, you can always go longer than you need to, but it’s mostly a waste.
RELATED: What Kind of Ethernet (Cat5, Cat5e, Cat6, Cat6a) Cable Should I Use?
It’s?also way cheaper to make your own Ethernet cables than buying them pre-made. For example, you can buy a 1,000-foot spool of Ethernet cable for around $60, give or take a few dollars depending on what kind of cable you get. Tack on another few bucks for a bag of connectors and you end up paying way less than if you were to buy pre-made cables.

For instance, a 25-foot Ethernet cable on Amazon costs $8, which is pretty cheap, but that would cost you $320 for 1,000 feet worth of those cables. The cost goes up even more with 10-foot Ethernet cables, priced at $600 for 1,000 feet worth.
Granted, you may think that you don’t need 1,000 feet of Ethernet cable, but it would last you a very long time, and you probably wouldn’t need to buy an Ethernet cable ever again. In any case, you can get a smaller 250-feet spool of Ethernet cable for just $20 if that seems more feasible.
What You’ll Need
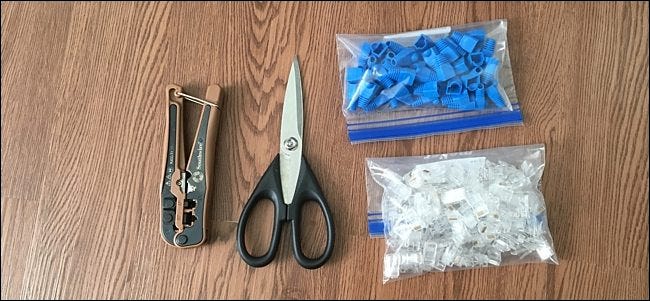
Some of this stuff I linked to above, but here’s an overall list of tools and materials you’ll need, none of which are particularly expensive at all.
Bulk ethernet cable (make sure it’s bare copper and not copper-clad aluminum)
RJ-45 connectors
Relief boots (optional, but they help protect the connector)
RJ-45 crimping tool
Wire cutters,?wire strippers,?or scissors
Got everything? Let’s get started.
Step One: Measure the Length You Need
Grab your Ethernet cable and measure out the length you need from it. If you’re measuring for really long runs and need 60 feet of cable, for instance, I like to measure my arm span first (around five feet), grab some cable, and stretch it out across my chest hand to hand. From there, I can count how many arm spans of cable I need to reach 60 feet.
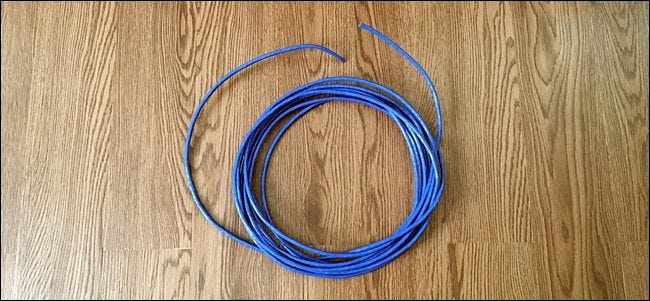
Don’t worry about getting the exact length, but if anything, you’ll want a little excess at the end to make up for any discrepancies and mistakes—you can always cut away the excess and make another Ethernet cable out of it in the future.
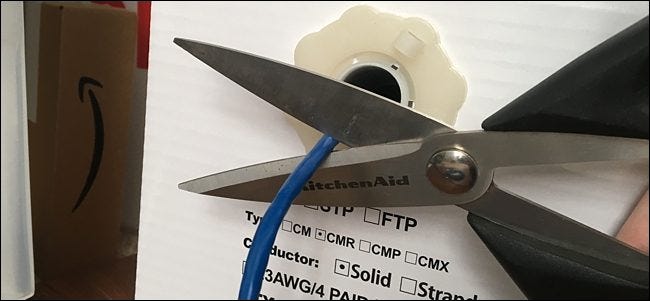
When you get the length you need, simply cut the cable with your wire cutters or scissors.
After you cut it, now is the time to slide on a relief boot before you start messing with the wires and installing the connector, because you won’t be able to slide it on once you install the connector.
Step Two: Strip the Outer Jacket Off
Take your crimping tool and use it to strip off around 2-3 inches of the outer jacket from each end of the cable. The crimping tool will have a section with a razor blade and enough clearance to cut through the jacket but not the wires on the inside. Place the cable in this slot, gently squeeze the crimping tool, and rotate it to cut all the way around the jacket.
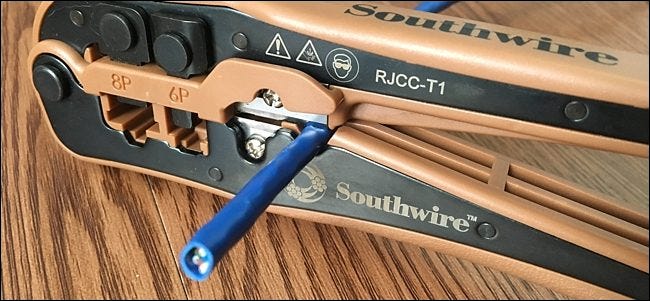
After that, you can pull off the jacket to expose the smaller wires inside.
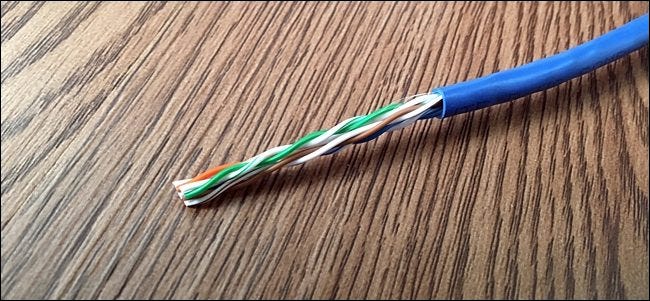
You also might notice a set of very thin hair-like strands. This gives the cable some added strength when you’re pulling on it so that the inside wires don’t receive all of the stress. But the main reason those strands are there is so that you can pull them down to cut away even more of the outer jacket.
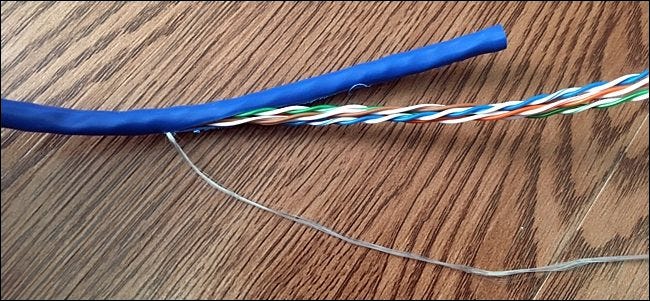
Why do this, though? Because when you use your crimping tool to cut away the outer jacket, there’s always the chance that you’ll nick the inside wires ever so slightly. By pulling on the fiber strands to cut away more of the outer jacket and then cutting the inside wires just below where the possible nick might be, you eliminate any and all risk of a cable malfunction.
You don’t need?to do this if you’re careful enough with the crimping tool, but it’s an added precaution that you can take if you want.
Step Three: Untwist and Separate All the Wires
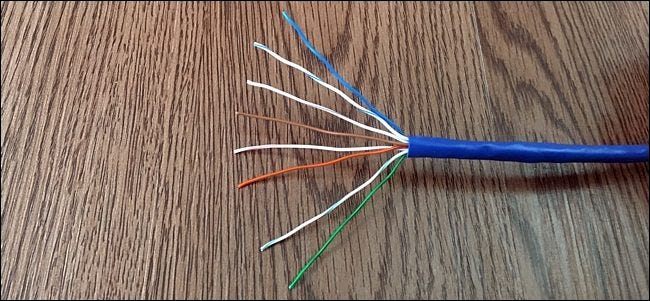
Once you expose the inner wires, you’ll notice that there are four pairs of wires twisted together, resulting in eight wires total.?These pairs come in different colors, with one being a solid color and the other being a white wire with a stripe matching the solid color.
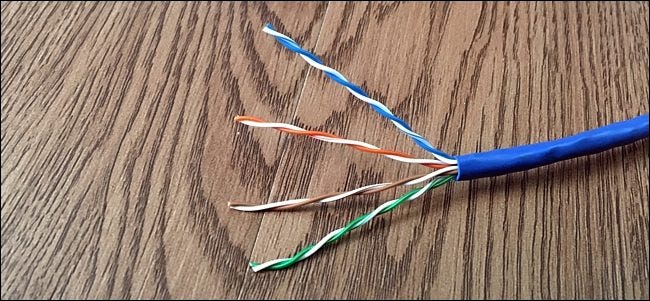
Untwist all four pairs so that you have eight separate wires. It’s also a good idea to flatten out the wires the best you can, since they’ll still be a bit wavy after untwisting them.
Step Four: Put the Wires in the Correct Order and Prep Them for Crimping
Next, we’ll need to arrange the eight wires in a specific order, and this is where things can take a bit of practice.
Technically, you can have the wires in any order you want as long as both ends are wired the same. However, Ethernet cables have standards for the sequence of the wiring, known as?T-568A and?T-568B. The only difference between the two is that the orange and green pairs of wires are switched. But why are there two different standards in the first place?
It’s mostly so that crossover Ethernet cables can exist. Crossover cables are used to directly network two machines together without the need for a router. One end of the cable uses T-568A and the other end uses T-568B. However, for any other normal Ethernet cable, both ends will have the same wiring sequence.

As for which one to use when making your own Ethernet cables, it doesn’t really matter.?T-568B is fairly common in the US because it’s compatible with older telephone gear and you can plug in a phone line to an Ethernet jack that uses T-568B. Most pre-made Ethernet cables you buy (including the ones linked to above) use T-568B.
However, T-568A is becoming more popular and recommended. Plus, it’s more common throughout the rest of the world (and phone lines are on their way out anyway). So with that said, we’ll be using T-568A for this guide.
Let’s put our eight wires in order and get them ready for crimping. Follow the chart above and put the wires in order according to the T-568A chart. As you do so, lay the wires across the side of your index finger and squeeze them down with your thumb to hold them in place.
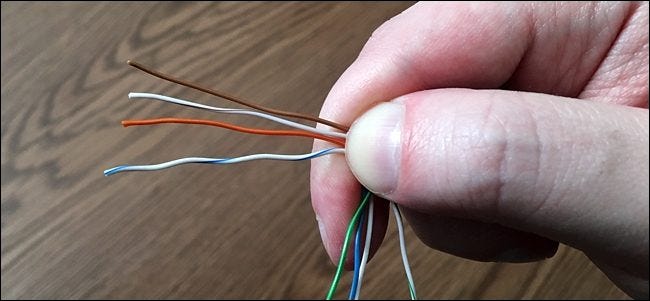
Once you have the wires in order, join them closer together and then begin to work the wires back and forth to stiffen them. Keep a tight grip on the wires during this process.
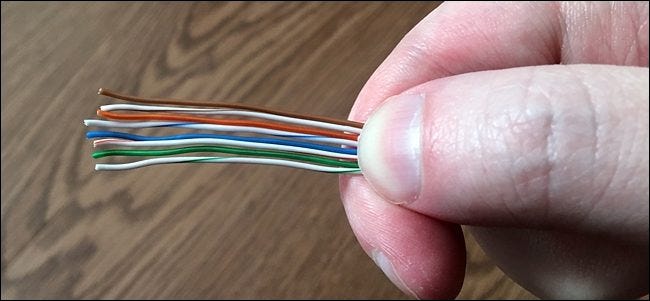
Eventually, you should be able to lighten your grip on the wires and they should mostly stay in order without wanting to veer off in different directions. This process should only take about 30 seconds or so.

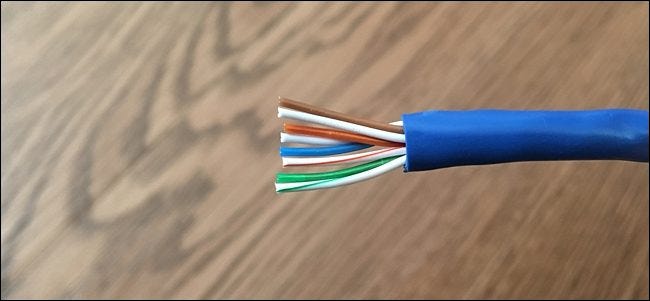
Next, grab your scissors and cut off the excess wiring so that only about a half-inch remains between the end and where the outer jacket begins. The goal is to have the wires short enough so that you can squeeze the outer jacket into the connector, crimping the connector over the jacket to make a secure connection (more on that later). You’ll get a better feel for this after you’ve practiced a few times.
Step Five: Slide the Connector On and Crimp It
Grab your Ethernet plug connector and with the clip part facing away from you and the green wires facing the floor (or the ceiling, depending on orientation), slide the wires inside, making sure that each wire goes into its own slot. As you do this, look closely and make sure that none of the wires have jumped out of order. If so, take the connector off, fix the wires, and reattempt.
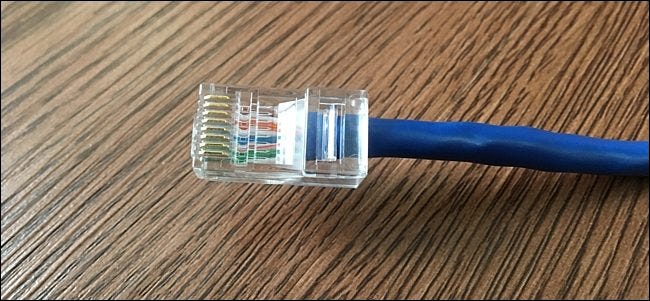
Push the cable all the way in until all eight wires are touching the end of the connector. You may have to wiggle it a bit and provide a little force to push the connector all the way on.
Next, grab your crimping tool and slide the connector in the crimping slot as far as it will go. It’ll only go in one way, so if it doesn’t go in all the way on one side, just turn the tool around and reinsert the connector. The entire connector should fit inside of the crimping tool.
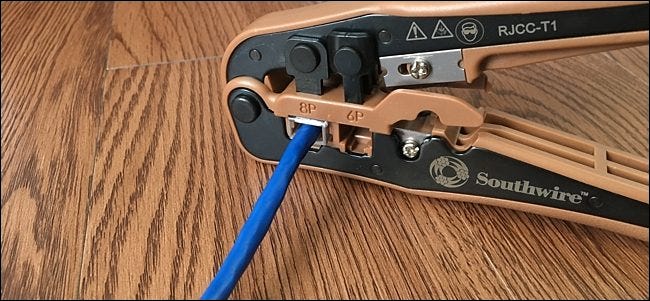
Once the connector is all the way in, squeeze down on the tool to crimp the connector. Squeeze down relatively hard, but not with all your strength. Again, you’ll get a better feel for this the more you practice.
Once that’s done, remove the cable from the tool and inspect the entire connection to make sure it’s all good. If done properly, the pointy crimp toward the back of the connector should be squeezing down on the outer jacket of the cable and not on the smaller wires. If not, then you didn’t cut off enough excess from the smaller wires.
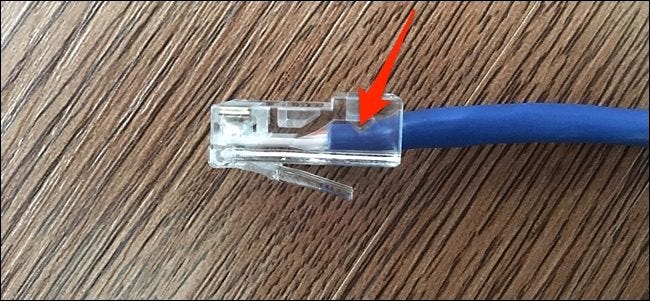
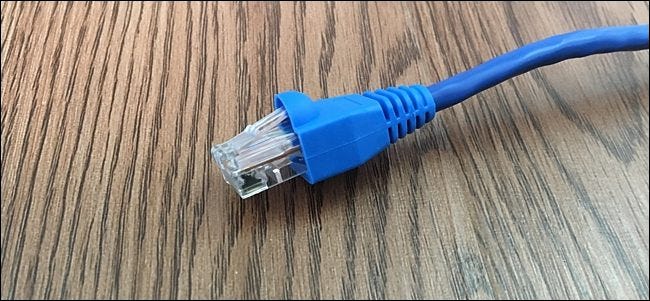
Next, slide the relief boot over the connector (if you’re using them) and then bask in the glory of your very-own Ethernet cable. Just make sure to put together the other end!
Ethernet cables can be as long or short as you want, but be aware that Ethernet has a physical limit of 300 feet. So be sure to keep them under that length, which shouldn’t be a problem for the most part.
Image Credit:?Elektroda


0