In today’s interconnected world, Ethernet cables serve as the backbone of our digital infrastructure, facilitating seamless communication and data transfer across networks. Whether you’re setting up a home office, expanding your business network, or troubleshooting connectivity issues, knowing how to properly connect two Ethernet cables is an essential skill. In this comprehensive guide, we’ll walk you through the various methods and best practices for joining Ethernet cables, ensuring optimal performance and reliability.
Understanding Ethernet Cable Types and Categories
Before diving into the connection process, it’s crucial to understand the different types and categories of Ethernet cables available. Ethernet cables are classified based on their performance capabilities and specifications, with higher categories supporting faster data transfer speeds and improved signal integrity. Here’s a quick overview of the most common Ethernet cable categories:
- Cat 5 and Cat 5e: These older cable types are suitable for basic home and office networks, supporting speeds up to 100 Mbps and 1 Gbps, respectively.
- Cat 6: Cat 6 cables offer enhanced performance, supporting speeds up to 10 Gbps and featuring improved insulation to reduce crosstalk and interference.
- Cat 6a: With even better performance than Cat 6, Cat 6a cables support speeds up to 10 Gbps over longer distances and include additional shielding for enhanced signal integrity.
- Cat 7 and Cat 7a: These high-performance cables boast speeds up to 10 Gbps and 40 Gbps, respectively, but are less commonly used due to compatibility issues and higher costs.
- Cat 8: The latest Ethernet cable standard, Cat 8 supports speeds up to 40 Gbps and is designed for demanding data center environments.
When selecting an Ethernet cable for your connection, consider your network speed requirements, the distance the cable needs to cover, and any potential sources of interference in the environment.
Connecting Ethernet Cables Using a Coupler
One of the simplest and most straightforward methods for connecting two Ethernet cables is by using an Ethernet coupler, also known as an RJ45 coupler or connector. An Ethernet coupler allows you to directly join two cables together, effectively extending the total cable length. Here’s how to use an Ethernet coupler:
- Ensure that the Ethernet coupler is compatible with the category and type of Ethernet cables you’re using.
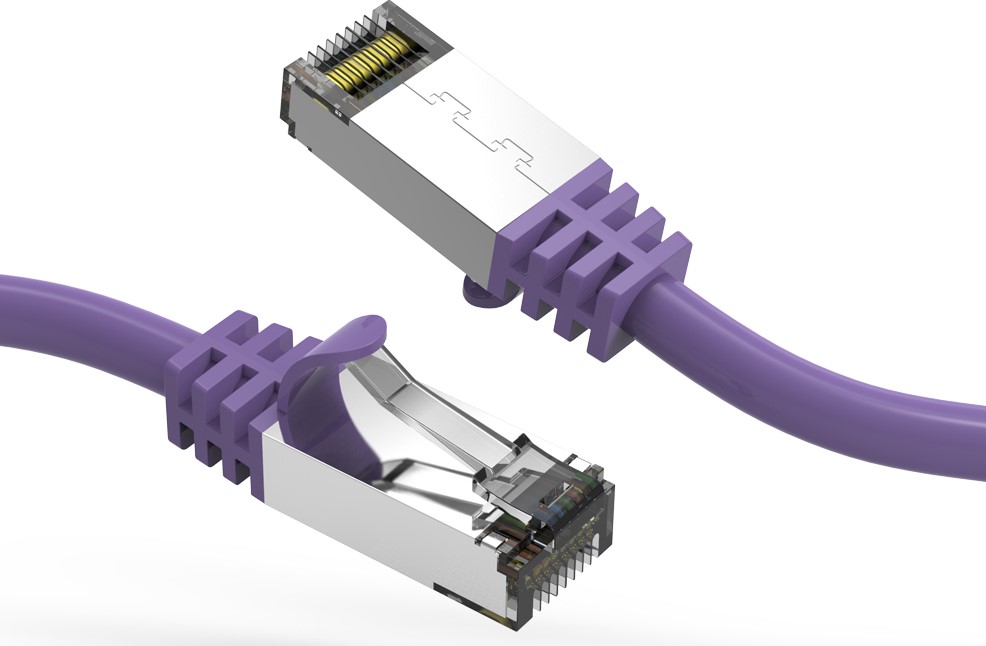
- Insert the male connector of one Ethernet cable into one end of the coupler, ensuring a snug and secure fit.
- Repeat the process with the other Ethernet cable, plugging its male connector into the opposite end of the coupler.
- Verify that both cables are firmly connected to the coupler and that there are no loose or exposed wires.
While Ethernet couplers offer a quick and easy solution for connecting cables, it’s important to keep in mind some potential limitations:
- Signal attenuation can occur with each connection point, potentially impacting network performance if too many couplers are used in series.
- The overall connection strength is only as good as the lowest-grade cable used.
- Frequent plugging and unplugging can lead to wear and tear on the coupler and cable connectors.
Joining Ethernet Cables Using a Network Switch
Another effective method for connecting two Ethernet cables is by using a network switch. A switch allows you to connect multiple devices to a single network, enabling them to communicate with each other. Here’s how to connect two Ethernet cables using a switch:
- Choose a network switch with enough ports to accommodate all the devices you wish to connect.
- Ensure that the switch supports the desired network speed and standard (e.g., Gigabit Ethernet).
- Plug one end of each Ethernet cable into separate ports on the switch, making sure the connectors are securely inserted.
- Configure the switch settings as needed to optimize network performance and security.
Using a network switch offers several advantages over using couplers:
- Switches allow you to connect multiple devices to the same network, providing greater flexibility and scalability.
- Switches can help reduce signal attenuation and interference compared to using multiple couplers in series.
- Switches offer improved network management features, such as VLANs, QoS, and port mirroring, for more advanced network configurations.
Direct Cable Splicing and Termination
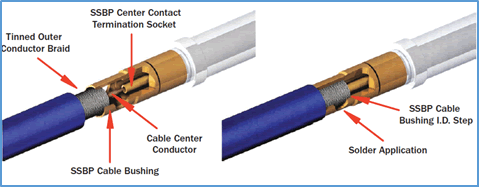
In some cases, you may need to directly splice or terminate two Ethernet cables without using a coupler or switch. This method involves cutting the cables and connecting the individual wires using soldering, crimping, or punch-down techniques. While direct cable splicing can be effective, it requires more technical expertise and specialized tools compared to using couplers or switches.
If you choose to splice Ethernet cables directly, follow these best practices:
- Use high-quality tools and materials designed for Ethernet cable termination, such as wire strippers, crimpers, and RJ45 connectors.
- Carefully match the color-coded wires according to the T568A or T568B wiring standard to ensure proper connectivity.
- Test the spliced connection thoroughly using a cable tester to verify signal integrity and performance.
Keep in mind that improper splicing techniques can lead to signal degradation, reduced transmission speeds, and decreased reliability.
Ethernet Cable Installation and Maintenance Tips
To ensure optimal performance and longevity of your Ethernet cable connections, follow these installation and maintenance best practices:
- Choose the appropriate cable category and shielding based on your network speed requirements and the installation environment (e.g., indoor, outdoor, plenum spaces).
- Avoid bending or twisting the cables too tightly, as this can damage the internal wires and affect signal quality. Maintain a minimum bend radius of four times the cable diameter.
- Use cable ties, clips, or conduits to secure and protect the cables from physical damage, such as cuts, abrasions, or crushing.
- Keep Ethernet cables away from sources of electromagnetic interference, such as power lines, fluorescent lights, and large electrical appliances.
- Regularly inspect the cables for signs of wear and tear, such as frayed ends, exposed wires, or damaged connectors. Replace or repair damaged cables promptly to maintain network reliability.
By following these installation and maintenance guidelines, you can ensure that your Ethernet cable connections remain stable, efficient, and high-performing over time.
Conclusion
Connecting two Ethernet cables is a fundamental skill for anyone working with computer networks. Whether you choose to use an Ethernet coupler, a network switch, or direct cable splicing, understanding the different methods and their respective advantages and limitations is crucial for making informed decisions.
By selecting the appropriate cable category, following proper installation techniques, and adhering to maintenance best practices, you can create reliable and high-performance Ethernet connections that meet your networking needs. With this comprehensive guide, you now have the knowledge and tools to confidently connect Ethernet cables in various scenarios, ensuring seamless connectivity and optimal network performance.


0