
In the digital age, self-sufficiency in technology is not just a skill but a necessity. For those looking to bypass installation fees and embrace the DIY spirit, setting up your Xfinity Internet is a straightforward process. This guide will walk you through the steps to get your internet up and running, along with tips for troubleshooting common issues.
Step 1: Equipment Checklist
Before diving into the setup, ensure you have the following:
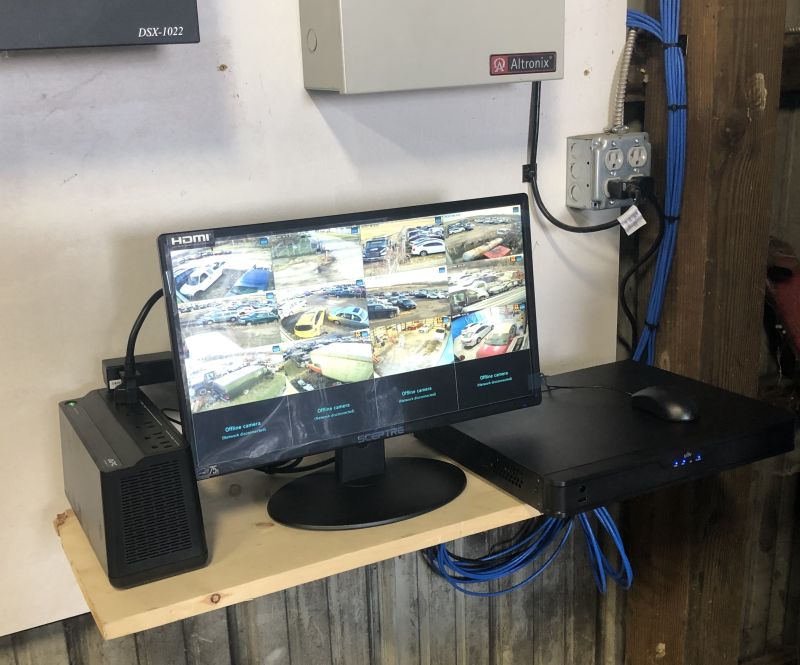
- Xfinity-compatible modem
- Router (optional for Wi-Fi)
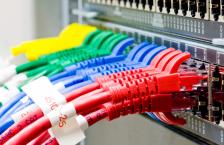
- Ethernet cables
- Coaxial cable
- A device with internet access (computer or mobile)
Step 2: Connecting the Modem
Connect your modem to the coaxial cable and power it up. Watch for the indicator lights to stabilize, signaling a successful connection.
Step 3: Activating Your Service
Using your device, navigate to www.xfinity.com/activate and follow the on-screen instructions to activate your internet service.
Step 4: Router Setup (Optional)
If using a router, connect it to the modem with an Ethernet cable. Power on the router and wait for it to initialize.
Step 5: Connecting Devices
Connect your devices to the internet via Ethernet or Wi-Fi. For Wi-Fi, use the network name and password provided with your equipment.
Troubleshooting Tips
- Power Cycling: If you encounter connection issues, power cycling your modem and router can often resolve them.
- Optimal Placement: Ensure your router is centrally located for the best Wi-Fi coverage.
By following these steps, you can enjoy the benefits of Xfinity Internet without the need for professional installation. For further assistance, Xfinity’s support articles and videos provide additional guidance.


0