As a seasoned cable technician with over 15 years in the field, I’ve seen firsthand how proper cable installation techniques can make or break a network’s performance. Whether you’re wiring a small home office or a sprawling commercial complex, adhering to these seven cable installation best practices will ensure your network runs at peak efficiency and reliability for years to come.
1. Plan Your Cable Runs Strategically
Before pulling a single cable, take the time to carefully map out your cable routes. This crucial planning phase involves:
- Measuring distances between equipment to determine required cable lengths
- Identifying potential obstacles and planning routes to avoid them
- Ensuring adequate space for proper cable management and future expansion
- Minimizing cable runs to reduce signal loss and electromagnetic interference (EMI)
By strategically planning your cable runs, you’ll lay the foundation for a clean, efficient installation that’s built to last.
2. Select the Right Cables for the Job
Using the wrong type of cable can lead to subpar performance, signal degradation, and even complete network failure. When choosing cables, consider:
- Cable category: For Ethernet networks, use at least Cat5e for Gigabit speeds and Cat6 or higher for 10 Gigabit and beyond.
- Shielding: In areas with high EMI, opt for shielded cables to protect signal integrity.
- Fiber optic vs. copper: For long runs or high-bandwidth applications, fiber optic cables provide superior performance and reliability compared to copper.
- Outdoor-rated cables: If running cables in harsh environments, choose cables specifically designed to withstand the elements.
Investing in high-quality, application-appropriate cables from the start will save you headaches down the line.
3. Use Proper Cable Pulling Techniques
Improper cable pulling can damage cables, leading to network issues. To minimize the risk of damage during installation:
- Use cable pulling lubricant to reduce friction and prevent stretching or tearing the cable jacket.
- Avoid exceeding the cable’s maximum pulling tension, which can damage conductors or insulation.
- Employ pulleys and guides to navigate obstacles and maintain minimum bend radii.
- Pull cables in a straight line whenever possible, steering clear of sharp corners.
By following these cable pulling best practices, you’ll ensure your cables remain intact and perform at their best.
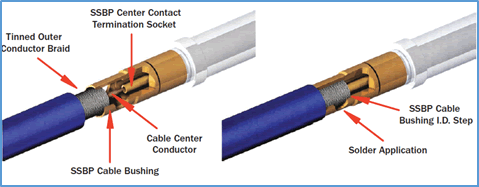
4. Terminate Cables with Precision
Proper cable termination is critical for reliable network performance. Poorly terminated cables can cause signal loss, intermittent connections, and complete link failure. When terminating cables:
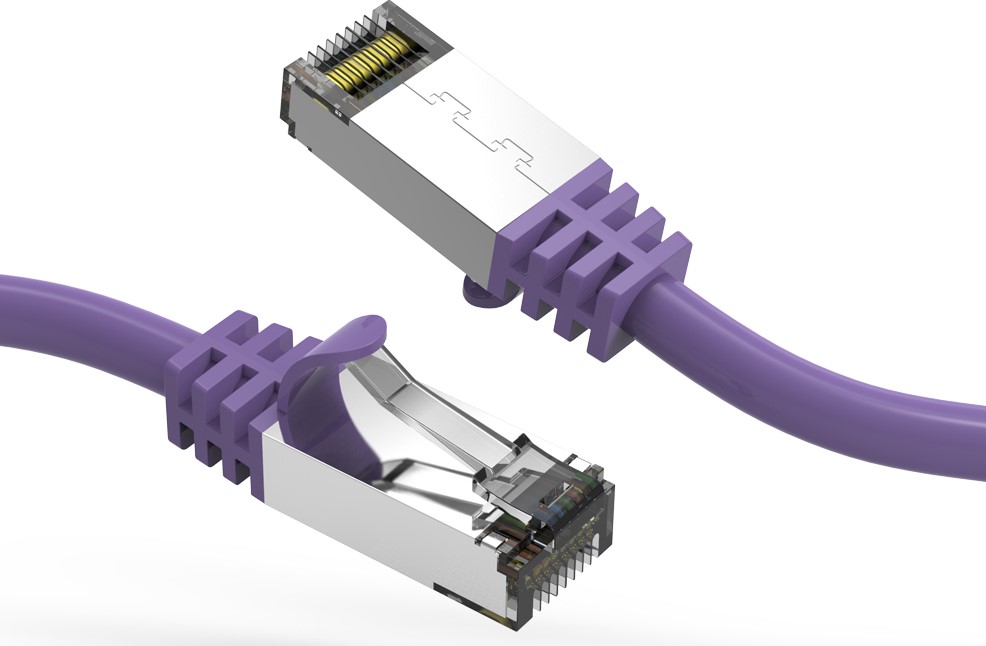
- Use high-quality connectors and tools designed for the specific cable type.
- Follow the manufacturer’s instructions closely for connector assembly and crimping.
- Ensure the cable jacket extends into the connector strain relief to prevent damage.
- Test each terminated cable with a cable certifier to verify proper pin-out and performance.
Taking the time to correctly terminate each cable will pay dividends in improved network reliability and reduced service calls.
5. Implement a Clear Labeling Scheme
Labeling may seem tedious, but it’s essential for efficient troubleshooting and maintenance. A well-planned labeling scheme will help you quickly identify specific cables and equipment.
- Label both ends of each cable with a unique identifier, such as a number or combination of letters and numbers.
- Use a logical labeling system, such as numbering cables sequentially or using a descriptive scheme (e.g., “CAM-1-FL2” for a security camera cable on the first floor).
- Create a detailed cable map or spreadsheet documenting each cable’s identifier, type, length, origin, and destination.
- Update your documentation whenever changes are made to the installation.
Investing the effort to properly label your cables will make future maintenance and upgrades much simpler.
6. Practice Proper Cable Management
Neat, organized cable management not only looks professional but also improves network performance and simplifies maintenance. Proper cable management involves:
- Bundling related cables together using velcro straps or cable ties, while avoiding over-tightening that can damage the cables.
- Providing adequate slack at connection points to allow for equipment movement and reduce strain on connectors.
- Using cable management accessories like horizontal and vertical cable managers, cable trays, and J-hooks to keep cables organized and off the floor.
- Separating data and power cables to minimize electromagnetic interference.
By keeping your cables neat and tidy, you’ll minimize signal interference, simplify troubleshooting, and make your installation look polished and professional.
7. Thoroughly Test and Certify the Installation
Once your cable installation is complete, it’s crucial to thoroughly test and certify the system to ensure it meets performance standards. This involves:
- Using a cable certifier to test each cable run for proper installation, performance, and compliance with industry standards like TIA/EIA-568.
- Documenting the test results for each cable and keeping them on file for future reference.
- Addressing any issues identified during testing, such as damaged cables, loose connections, or incorrect terminations.
- Performing a final network test to ensure all devices are communicating properly and the system is functioning as intended.
By thoroughly testing and certifying your cable installation, you’ll catch any potential issues early and ensure the network performs optimally from day one.
Avoiding Common Cable Installation Mistakes
Even seasoned professionals can fall victim to common cable installation pitfalls. Be sure to avoid these mistakes:
- Pulling cables too hard: Excessive pulling tension can damage fragile fiber optic cables and even sturdy copper cables. Always adhere to the manufacturer’s recommended maximum pulling tension.
- Insufficient support in ceilings: Improperly secured cables can sag, causing signal degradation and potential safety hazards. Use appropriate cable supports and follow BISCI guidelines for cable pathways.
- Improper termination and cleaning: Dirty or improperly terminated connectors can significantly degrade signal quality. Always clean fiber connectors thoroughly and follow manufacturer instructions for termination.
By steering clear of these common mistakes and adhering to industry best practices, you’ll ensure a top-notch cable installation that stands the test of time.
Conclusion
In today’s fast-paced, data-driven world, a reliable and efficient network is the backbone of any successful organization. By following these seven cable installation best practices – planning strategically, selecting the right cables, using proper pulling techniques, terminating with precision, labeling clearly, managing cables effectively, and testing thoroughly – you’ll lay the groundwork for a network that performs at its best day in and day out.
As a cable installation professional, I’ve seen the difference these best practices can make in real-world installations. Taking the time to do things right from the start will save countless hours of troubleshooting and maintenance down the road, not to mention the cost savings and improved network performance.
So the next time you tackle a cable installation project, keep these best practices top of mind. Your clients will thank you for a network that exceeds their expectations, and you’ll take pride in a job well done. Here’s to raising the bar in cable installation excellence!


0