Are you an audio enthusiast or a content creator looking to elevate your audio setup? The M-Audio BX5a studio monitors are an excellent choice for achieving professional-grade sound quality on your PC. In this comprehensive guide, we’ll walk you through the process of connecting these monitors to your computer, ensuring optimal audio performance and an immersive listening experience.
Setting Up for Success
Before we dive into the connection process, let’s ensure you have the necessary components:
- M-Audio BX5a studio monitors
- Audio interface (recommended for best audio quality)
- Appropriate cables (covered in the next section)
Having the right gear is crucial for achieving the desired sound quality. With that in mind, let’s explore the cables you’ll need.
Cables Needed
To connect your M-Audio BX5a monitors to your PC, you’ll require the following cables:
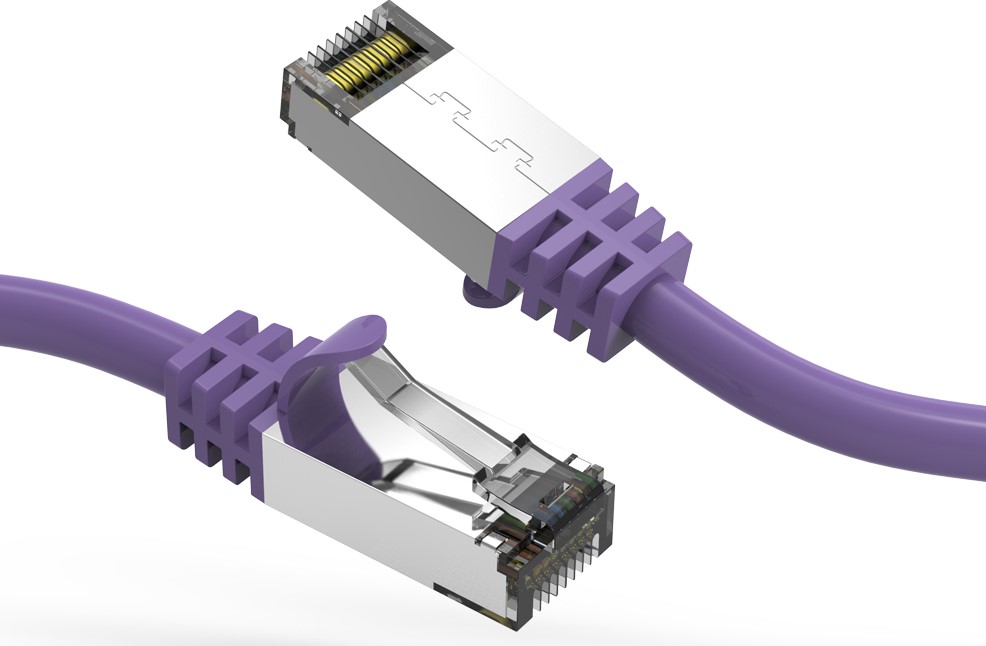
- 1/4″ TRS Cables: These balanced cables are essential for connecting your monitors to the audio interface. You’ll need two cables, one for each speaker.
- USB Cable: If your audio interface doesn’t have built-in digital connectivity, you’ll need a USB cable to connect it to your PC.
Investing in high-quality cables can make a noticeable difference in audio fidelity, so choose wisely.
Connecting to Audio Interface
Now that you have the necessary cables, let’s connect your M-Audio BX5a monitors to your audio interface:
- Connect Speakers to Interface: Take one of the 1/4″ TRS cables and connect one end to the left speaker’s input on the back panel. Connect the other end to the left output on your audio interface.
- Repeat for Right Speaker: Use the second 1/4″ TRS cable to connect the right speaker to the right output on your audio interface.
- Connect Interface to PC: If your audio interface has a USB port, connect it to your PC using the USB cable. If it doesn’t, you may need to use an additional cable (e.g., optical or coaxial) to establish a digital connection.
By following these steps, you’ve successfully connected your M-Audio BX5a monitors to your audio interface, which acts as the bridge between your PC and speakers.
Speaker Placement and Adjustment
Proper speaker placement and adjustment are crucial for achieving optimal sound quality. Here are some tips:
- Positioning: Position the speakers at ear level, forming an equilateral triangle with your listening position. This ensures accurate stereo imaging and a balanced sound field.
- Distance: Place the speakers approximately 3-6 feet away from your listening position, depending on your room size and personal preference.
- Angling: Angle the speakers inward, pointing them towards your listening position. This helps create a focused sweet spot for the best sound experience.
- Acoustic Treatment: While the BX5a monitors produce an accurate sound, the room acoustics can still color the audio. Considering affordable acoustic treatment like bass traps in the corners can further improve sound quality and clarity.
By following these guidelines, you’ll create an ideal listening environment, allowing you to fully appreciate the exceptional audio quality of your M-Audio BX5a monitors.
Final Thoughts
Achieving professional sound quality on your PC is now within reach with the M-Audio BX5a studio monitors. By following this comprehensive guide, you’ve ensured a proper setup, optimized speaker placement, and created an immersive listening experience.
Remember, investing in high-quality audio gear is just the beginning. Continuously refine your setup, experiment with different configurations, and embrace the journey of audio perfection. Happy listening!


0